Tulip Growing for Absolute Beginners: 10 Easy Steps
Tulips are one of the few flowers that reward a beginner almost immediately. Push a bulb into the ground in autumn, ignore it for five months, and in April you have something that looks like it belongs on a greetings card. The skill involved is small. The timing, depth and drainage, however, matter a great deal — and all three are easy to get right once someone tells you what they are.
What follows is the whole season in ten steps, whether you are filling a border or a handful of pots on a balcony. No jargon, no expensive kit.
Buy bulbs worth planting
Everything starts with the bulb itself. A tulip bulb is a flower waiting to happen: the petals, the leaves and the roots are already inside it. If it is small or damaged, no amount of care in spring will rescue it.
- Firm and heavy. Squeeze it gently. It should feel solid, like a small onion, with dry papery skin.
- No soft patches or mould. Blue-grey fuzz or a squashy base means rot. Leave it on the shelf.
- Size matters. Tulip bulbs are graded by size, and the larger grades give sturdier stems and bigger flowers. Worth the extra for a pot.
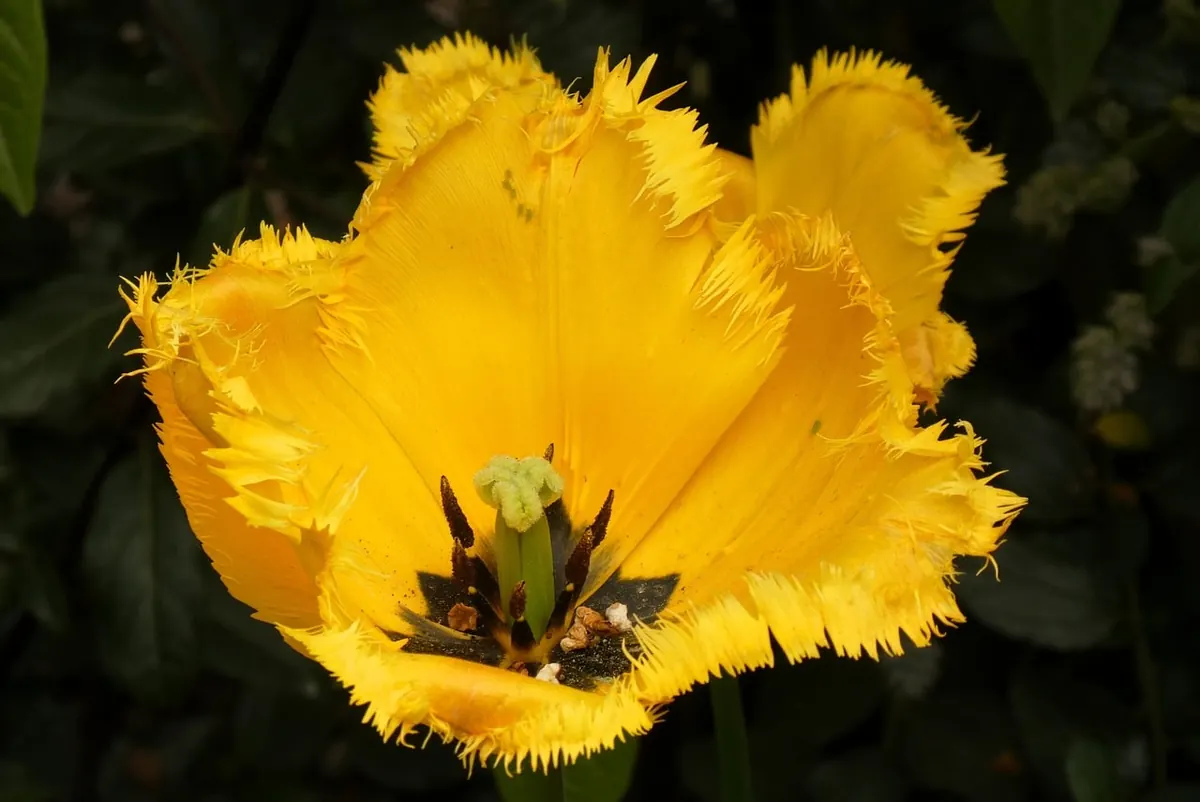
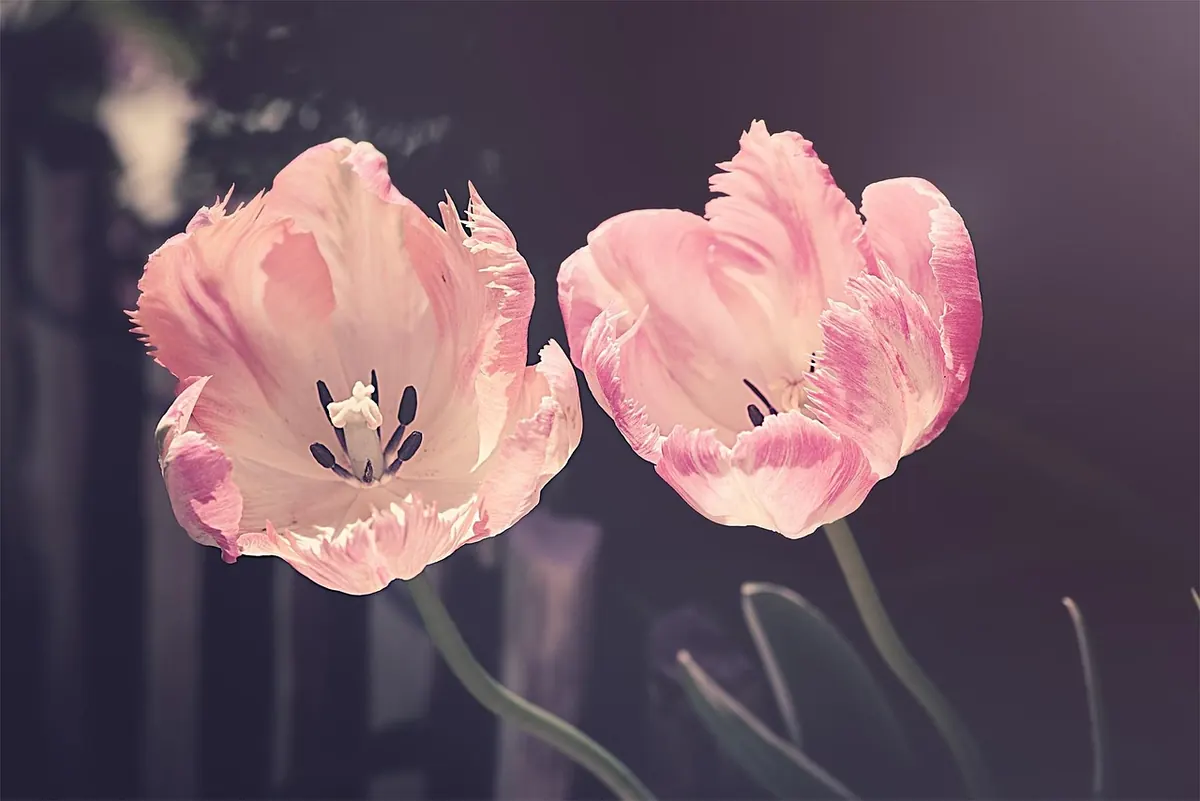
- Think about type. Tall Darwin hybrids and frilly parrots are the showiest but rarely repeat well. Species tulips such as Tulipa tarda and T. kaufmanniana are smaller and far more likely to come back year after year.
Buy in early autumn and store the bulbs somewhere cool, dark and airy — a garage shelf or a shed. A warm kitchen cupboard encourages them to sprout before they have grown any roots.
The ten steps, start to finish
- Choose bulbs that are firm and heavy for their size, with no soft patches or mould.
- Buy in early autumn and store them cool, dark and airy until planting day.
- Pick a spot in sun for at least half the day. Tulips open properly in sun and stay shut in shade.
- Plant between late October and early December, while the soil is still workable.
- Improve drainage first. Fork grit or compost into heavy soil; in pots, use fresh compost and check the holes are clear.
- Plant deep — about three times the bulb's own height. For a large tulip bulb that means roughly 15cm of soil above the nose.
- Space bulbs 10–12cm apart in borders, closer in pots, with the pointed tip facing up.
- Water once after planting, then leave them to the weather. Soggy soil is the main winter killer.
- In spring, water when the soil dries out, and feed only if you plan to keep the bulbs for another year.
- Deadhead as each flower fades, then leave the leaves for about six weeks before tidying them away.
Planting in pots without drowning them
Tulips hate sitting wet. In a border that usually means adding grit to heavy clay. In a pot it means three things: drainage holes that are not blocked, a layer of grit in the base, and the pot raised on feet or bricks so water can escape rather than pooling underneath.
Use fresh compost each year, mixed with a couple of handfuls of horticultural grit, and plant the bulbs nose-up and close together. Almost touching is fine in a pot, and it gives a far fuller display than polite spacing. A 30cm pot will take roughly a dozen large bulbs. Cover them with compost, water once, then leave the pot outside. Tulips need winter cold to grow well, so a warm kitchen windowsill is the wrong place; a spot against a wall or in a cold frame is ideal.
Squirrels and mice dig up tulip bulbs with real enthusiasm. A sheet of chicken wire laid over the compost, weighted with a couple of stones and lifted in spring, solves most of it. In borders the same trick works, pegged just below the surface.
After flowering: where beginners lose next year's display
As soon as a flower drops its petals, snap the seed head off. You want the plant's energy going into the bulb, not into seeds. Leave the leaves alone — they are the solar panels that refill the bulb for next spring. Don't tie them in knots and don't cut them back while they are still green. Wait about six weeks, until they have yellowed and collapsed on their own, then tidy them away.
If your tulips are in a border and you would like them to return, give them a liquid tomato feed every fortnight while the leaves are green. If they are in pots, be realistic: many tall varieties never repeat as well as they did the first year. Treating pot tulips as annuals, tipping the spent compost onto the border and buying fresh bulbs each autumn, is cheaper and far less disappointing than nursing them along.
If you need the space back, lift border bulbs once the leaves have died down. Clean off the soil, let them dry somewhere airy for a few days, then store them in a labelled paper bag or a tray of dry compost in a cool, dark, frost-free place. Check them once a month and bin any that have gone soft.
When something looks wrong
Bulbs that push up leaves but no flowers — often called blind bulbs — usually mean the bulb was too small, was stored somewhere too warm, or sat in soggy ground. There is nothing to do but enjoy the leaves and buy better bulbs next time.
Floppy stems that flatten after rain are common in exposed gardens, particularly with tall varieties planted shallowly. Plant deeper or choose a shorter type. In a windy spot, a few twiggy branches pushed in among the plants do the job as well as anything.
Slugs and snails will graze young shoots in March. A torch-and-bucket patrol after dark works, if you have the patience.
The one problem worth taking seriously is tulip fire, a fungus that shows as distorted, blistered or grey-brown blotchy leaves, with flowers that fail to open properly. Dig up the affected plants, bin them in household waste rather than the compost heap, and avoid planting tulips in that spot for a few years.
Keep it simple next autumn
Growing tulips well comes down to three habits: plant late, plant deep, and let the leaves die back in their own time. Everything else is detail.
Note which varieties did well in your garden. The ones that stood up to wind and came back the following year are worth buying again; the ones that disappointed are worth replacing with something shorter and sturdier. A dozen bulbs in a pot this November will teach you more about your own patch than any book. Plant them properly and see what April brings.
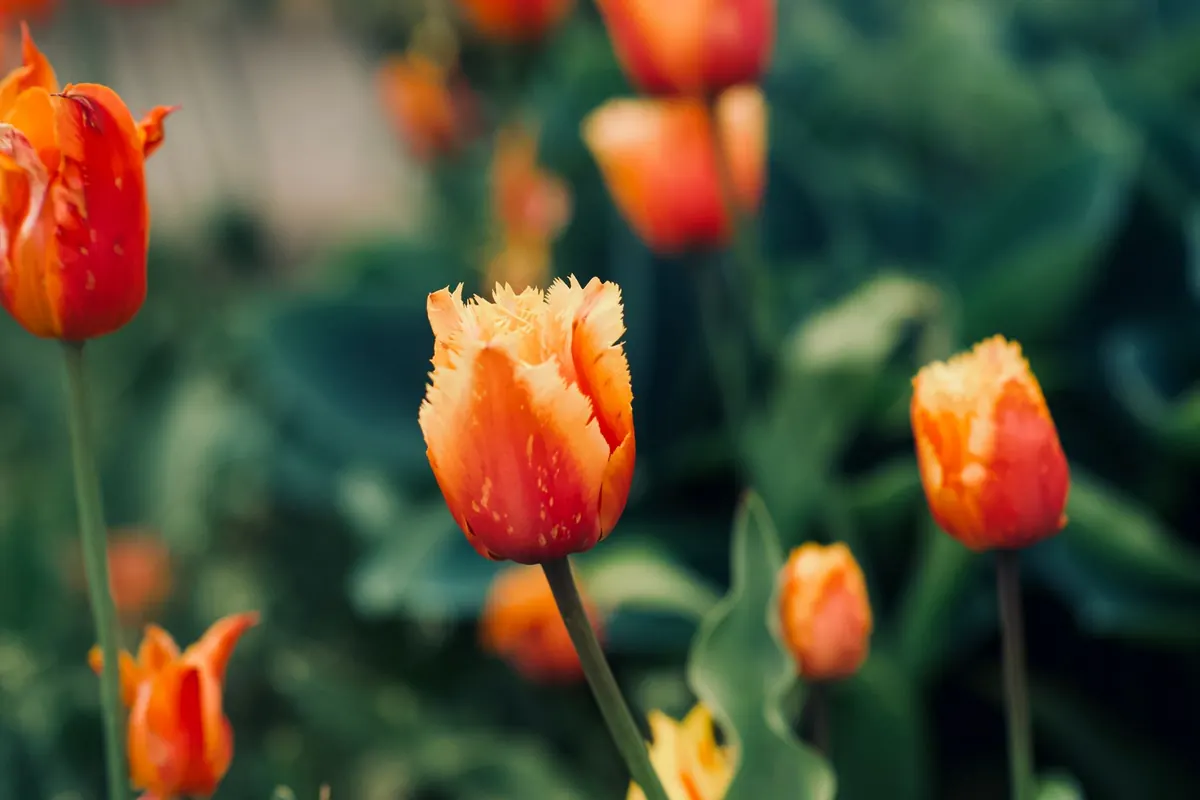
Photo: dumitru bumbu / Pexels